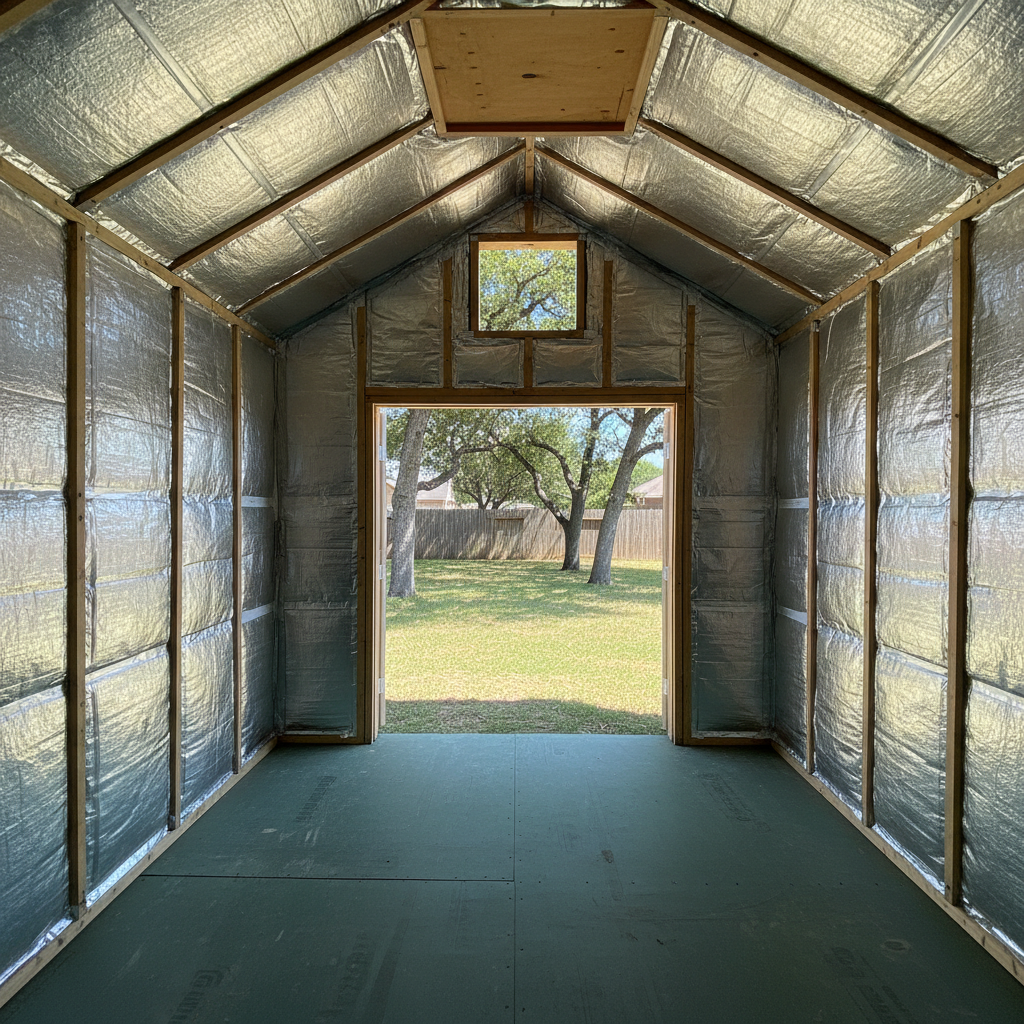
So, you're thinking about insulating your shed. Smart move! Whether you're turning it into a workshop, a she-shed, a spot for sensitive storage, or even a future office, insulating makes a huge difference. Especially here in Texas, with our brutal summers and those surprising cold snaps. It's not just about staying comfy; it's also about protecting your belongings and making that space truly useful all year long. Let's break down what a project like this actually involves, from start to finish.
Project Timeline: What to Expect
When you're planning to insulate a shed, the timeline isn't usually as drawn out as, say, re-insulating an entire house. But it still takes a bit of coordination. Once you decide to go for it, here's a rough idea of how things typically unfold:
- Initial Chat & Quote (1-3 days): This is when we come out, take a look at your shed, chat about your goals, and figure out the best insulation type for your needs and budget. We'll measure everything up and give you a clear, written estimate.
- Scheduling (1-2 weeks out): Good contractors tend to be booked a little in advance, right? Once you give us the green light on the quote, we'll get you on the calendar.
- Your Prep Work (1-2 days before): This part's on you, but it's super important. We'll dive into the details in a bit.
- Installation Day (1-2 days): For most standard sheds, the actual insulation work can often wrap up in a single day. Maybe two if it's a really big or tricky structure, or if there's a lot of extra prep like sealing air gaps.
- Cure Time (If using spray foam, 24-48 hours): If you pick spray foam, you'll need to keep the shed well-ventilated and avoid using it for a day or two while it fully cures.
All told, from your first phone call to stepping into a usable, insulated shed, you're probably looking at a 2-4 week process. It's not instant gratification, no, but it's definitely worth the wait.
What Happens During the Installation Process?
Okay, so the crew shows up. What's next? First, we'll do a quick walk-through to double-check that everything's ready, just like we discussed. We'll lay down drop cloths or tarps to protect anything around the work area, especially if we're spraying. Then we'll bring in our equipment – for spray foam, that usually means a truck or trailer with the rig, and hoses running right into your shed. For batt or blown-in, it's less gear but still a very focused effort.
The crew will work systematically, covering walls, the ceiling, and sometimes the floor, depending on what you've chosen. It can get a bit noisy, particularly with spray foam equipment, and you'll notice a distinct smell for a while. We're trained to work safely and efficiently, though. Once the insulation is in, we'll clean up our mess, pack up our gear, and give you any specific post-installation instructions, like tips for ventilation.
How to Prepare Your Shed for Insulation
This is where you come in, and honestly, it's a big deal. The better prepared your shed is, the smoother and faster the installation will go, and the better the final result will be. Here's your checklist:
- Empty it out: This isn't optional. Every tool, every box, every piece of outdoor furniture – it all needs to come out. We need clear access to every wall, the ceiling, and any other areas you want insulated.
- Clean it up: Sweep out all the dust, cobwebs, and debris. We certainly don't want to insulate over a mess.
- Seal major air leaks: Look for any big gaps around windows, doors, or where the walls meet the foundation. Caulk or seal these up beforehand. This isn't just for us; it makes your insulation way, way more effective.
- Address moisture issues: If you've got leaks in the roof or walls, or standing water inside, you absolutely have to fix that first. Insulating over moisture problems is just asking for mold and rot. We simply can't insulate a wet shed.
- Ensure electrical access: If you have outlets or lights, make sure they're accessible and working. We'll need to work around them, after all.
Think of it this way: the less we have to do before we start insulating, the quicker we can get to the actual job, and the less chance of delays or extra charges. It's a win-win.
Questions to Ask Before You Sign That Contract
Before you commit to anyone, even Peak Insulation Co., you really need to be asking the right questions. Don't be shy; it's your money and your shed we're talking about.
- What type of insulation are you suggesting and why? They should be able to explain the pros and cons for your specific shed and our climate. For instance, here in Schertz, we often battle high humidity, so a good vapor barrier or closed-cell spray foam might be a smart choice to prevent moisture issues in a shed, especially if it's on a concrete slab that can wick moisture.
- What's actually included in the quote? Is it just the insulation, or does it cover prep work, cleanup, and disposal? Are there any potential hidden costs I should know about?
- What's the R-value I can expect? This number tells you how effective the insulation will be at stopping heat transfer.
- Do you handle air sealing before insulating? A good contractor will always tackle air leaks as part of the process, because insulation alone just isn't enough.
- What's your warranty on the materials and labor? You want to know you're covered if something goes wrong down the line.
- Are you licensed and insured? Always, always ask for proof. This protects you if there's an accident or damage, you know?
- Can you provide references? Chatting with other folks who've used them is a fantastic way to get a feel for their work.
- How long will the job take, and what's the cleanup process like? Get a clear understanding of the timeline and what your property will look like when they pack up and leave.
Insulating your shed is a smart investment. By knowing what to expect and asking the right questions, you'll make sure you get a quality job done right. We're right here in Schertz, ready to help you turn that shed into a much more comfortable and useful space.